r-chitturi
Face Morphing
Part 1. Defining Correspondences
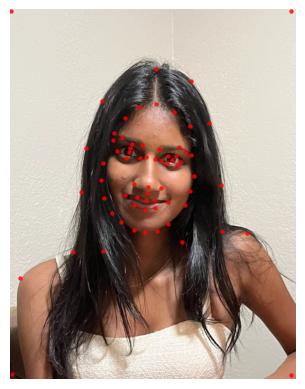
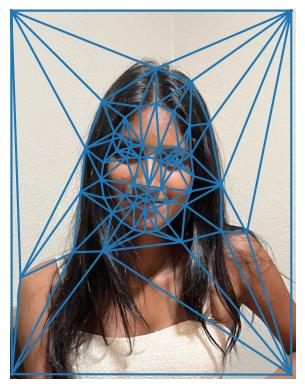
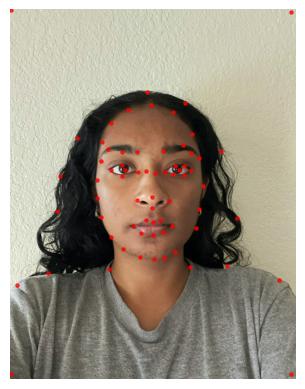
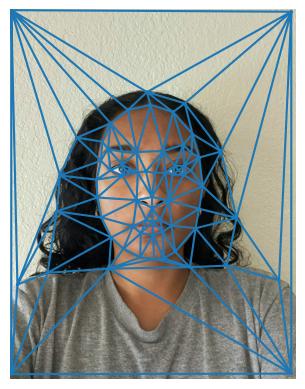
I used this correspondence tool from a previous semester’s student to find corresponding points between my two faces. I loaded in the points from the resulting JSON file and used scipy.spatial.Delaunay to produce tri for both images. Then I used plt.triplot on tri.simplices to view the resulting triangles.
| Input Images | Correspondences | Triangulation |
|---|---|---|
 |
 |
 |
 |
 |
 |
Part 2. Computing the “Mid-way Face”
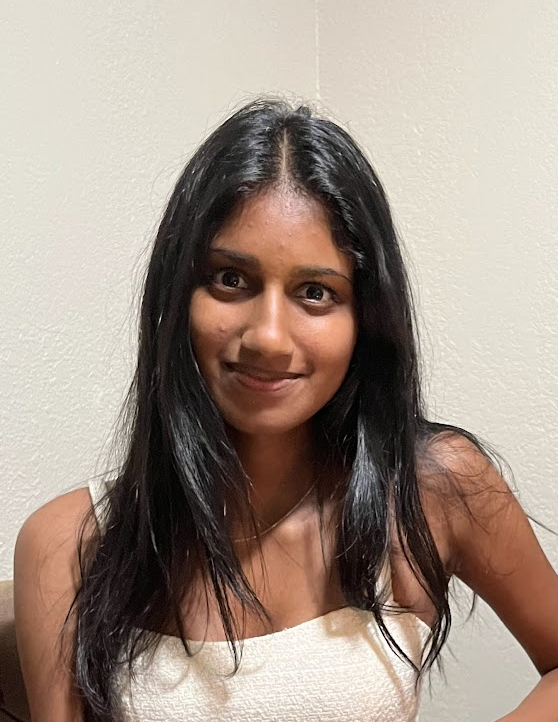
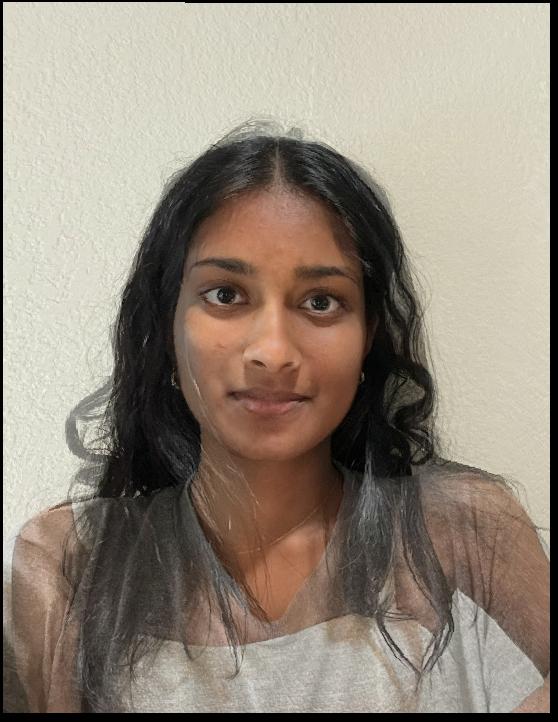
To create the midway image, I needed both images and their correspondence points, along with the warp amount and dissolve amount. The warp and dissolve amounts are both 0.5 for this part of the project. I computed the midway points by doing (1.0 - warp_amt) * im1_points + warp_amt * im2_points. Then, I computed the Delunay triangles. For each of the N corresponding triangles for both images, I computed the affine transformation for each and solved for the 6 unknowns.
Then, I used skimage.draw.polygon to find all the points that were within the triangle. I multiplied these coordinates by the inverse affine matrix. I also clipped the resulting x and y values to ensure that they remained within the image. I didn’t select many correpondence points below shoulder level, so this explains why the midway face there is more overlapped.
| Input Image 1 (Kavya) | Input Image 2 (Ramya) | Midway Face |
|---|---|---|
 |
 |
 |
Part 3. The Morph Sequence
As per the instructions, I computed a morph sequence with 45 frames (with 0 fully being image 1 and 45 fully being image 2). Each frame’s duration is around 1/30th of a second. The warp amount and dissolve amount is determined by i / x, where i is the current frame number and x is the number of frames.

I also computed another morph sequence where I used 100 frames, with each having a duration of 1/20th of a second.

Part 4. The “Mean face” of a population
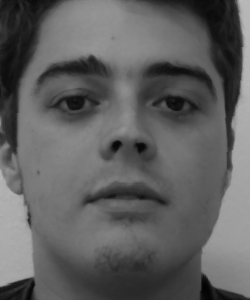
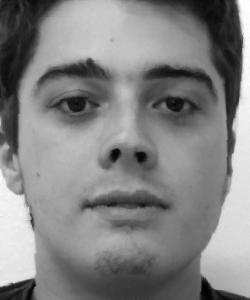
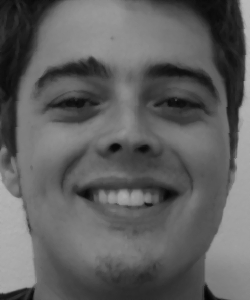
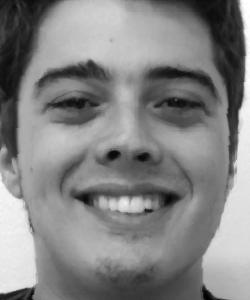
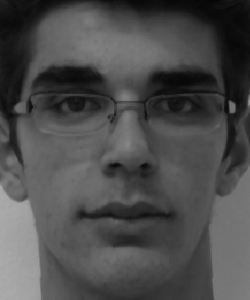
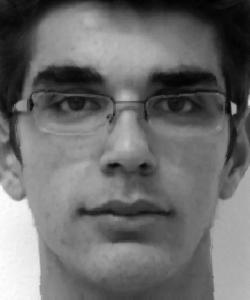
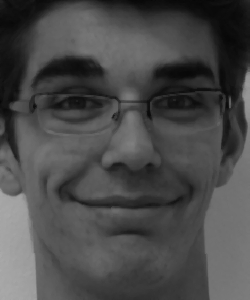
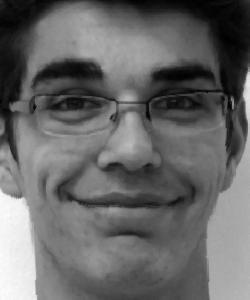
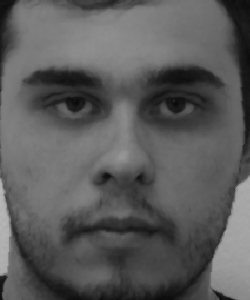
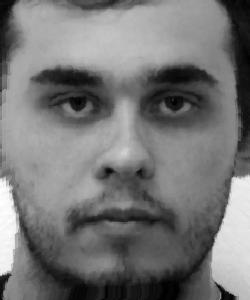
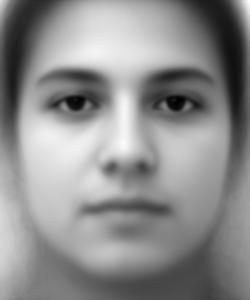
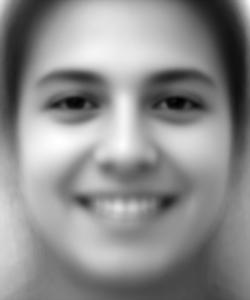
I used the FEI Face Database as my dataset. I downloaded the points from frontalshapes_manuallyannotated_46points and the datasets from frontalimages_spatiallynormalized. I combined both folders (parts 1 and 2) into one final folder. To generate the average correspondence points of the population, I averaged the coordinate values. The images marked with an a had a neutral expression, while the images marked with a b had a happy/smiling expression. Thus, I generated two mean images so we could have separate ones per expression. For the mean population image, I used the points from each image and the average image to create the warped image. I used a warp amount of 0.5 and a dissolve amount of 0.
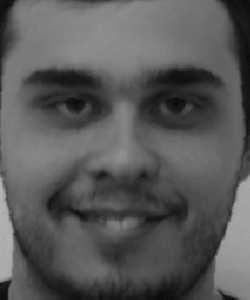
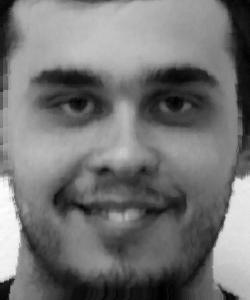
Here are some images (both neutral and happy) from the dataset that were warped to fit the average face shape.
| Original Neutral Image | Warped Neutral Image | Original Happy Image | Warped Happy Image |
|---|---|---|---|
 |
 |
 |
 |
 |
 |
 |
 |
 |
 |
 |
 |
Here are the images of the mean faces, as well as me warped into the mean face shape and vice versa.
| Mean Face Neutral | Mean Face Happy |
|---|---|
 |
 |
| Mean Face Neutral -> Ramya | Ramya -> Mean Face Neutral |
|---|---|
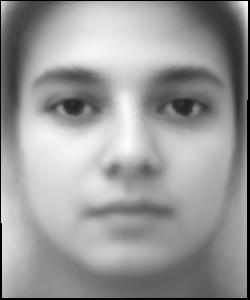 |
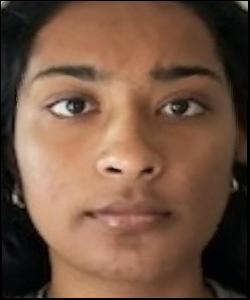 |
Part 5. Caricatures: Extrapolating from the mean
To generate the caricature, I changed the warp amount to no longer be in between 0 and 1. The warp amount is factored into the midpoints as such: (1.0 - warp_amt) * im1_points + warp_amt * im2_points. I warped my face based on the neutral mean image. I got the following results with larger warp values:
| Warp Amount = 1.5 | Warp Amount = 2 |
|---|---|
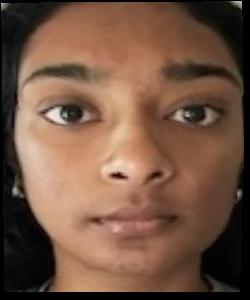 |
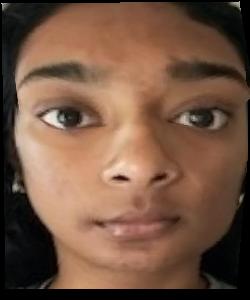 |
Two noticeable differences are that my eyes are larger/further apart, and my chin is smaller.
Bells and Whistles
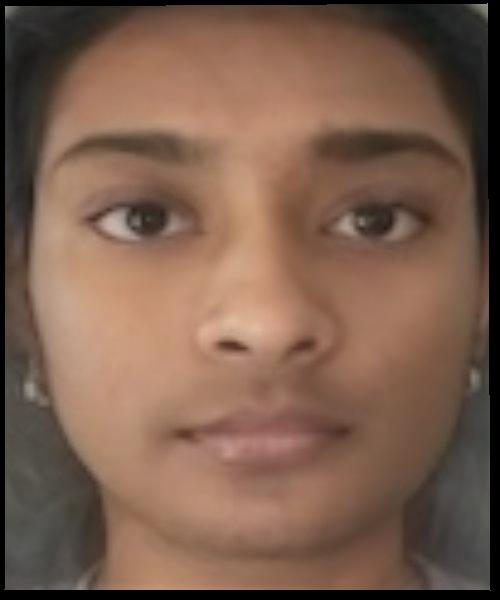
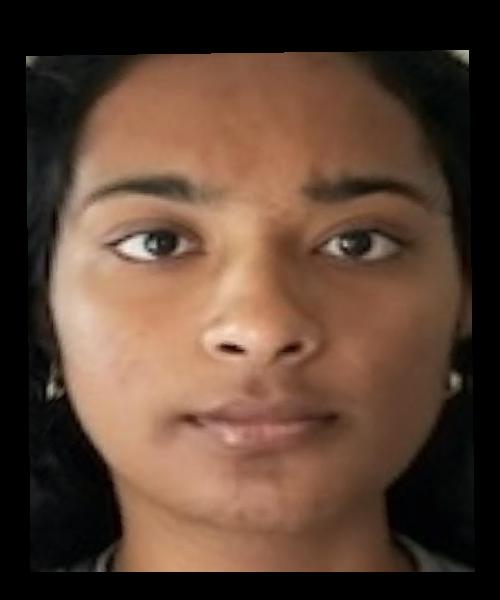
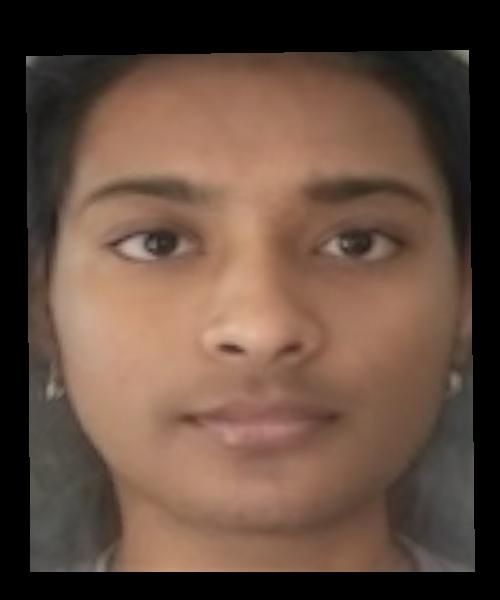
Changing Gender
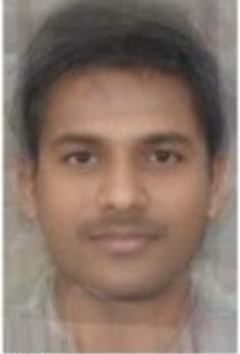
I chose an image of an average Indian man that I found online to try and change my gender.
| Me | Average Indian Man |
|---|---|
 |
 |
| Change Appearance | Change Shape | Change Shape + Appearance |
|---|---|---|
 |
 |
 |